
The Flux decentralized infrastructure has a wide selection of blockchain node hosting services on the Flux Marketplace. Several thousand blockchain nodes have found a home on one of the 12,000 computational nodes on the Flux network.
A Cost-efficient and Fully Decentralized Hosting Solution
Read on to learn about hosting your Presearch nodes on the Flux network and how you can leverage the advantages of truly decentralized Web3 infrastructure.
The blockchain nodes running on Flux benefit from the many advantages of truly decentralized infrastructure:
- Cost-efficiency — the centralized corporate middleman has been cut out
- Trustless — all you need is to sign in with your crypto wallet; no KYC is needed
- Resilience — if one of your node instances goes offline, a new one is spawned
- Performance — Flux infrastructure is regularly benchmarked, and your blockchain nodes are automatically updated to the latest software version.
The most popular blockchain node to host on Flux is Presearch, there are currently more than three-thousand Presearch nodes running on Flux.
Presearch is a community-driven decentralized search engine that provides better results while protecting your privacy and rewarding you when you search. The Presearch nodes are a fundamental piece of the Presearch project as they power the search engine by crawling the web for the information needed to answer user search queries.d nodes.
Guide to deploying Presearch nodes on Flux
For this guide, we assume you already have a Presearch account and the required $PRE collateral for running a Presearch node.
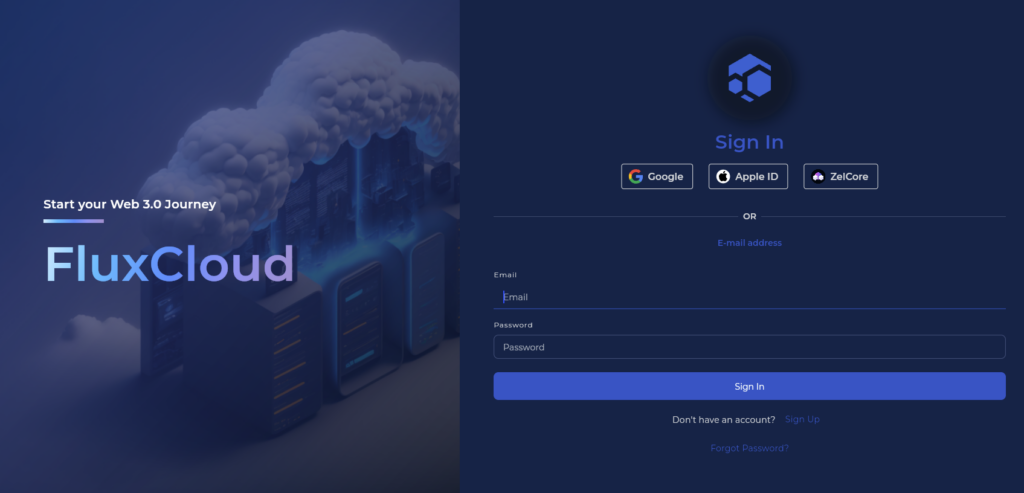
- To deploy your Presearch nodes on Flux, head to the Flux dashboard at https://cloud.runonflux.io/
- Click Sign In / Sign Up using one of the options available, SSO, Email, Apple ID or Zelcore..
- Once logged in, head to the Flux marketplace – blockchain (https://cloud.runonflux.io/marketplace/blockchain) in the navigation bar on the left of the dashboard.
Find and select your desired Presearch node deployment type and click install.
There are two types of Presearch nodes in the Flux marketplace:
- Presearch Node Legacy works with ‘grandfathered’ nodes but with auto-staking limitations when nodes disconnect.
- Presearch Node that uses Flux Storage to build Private Keys and works without auto staking limitations when nodes disconnect, this doesn’t work with ‘grandfathered’ nodes.
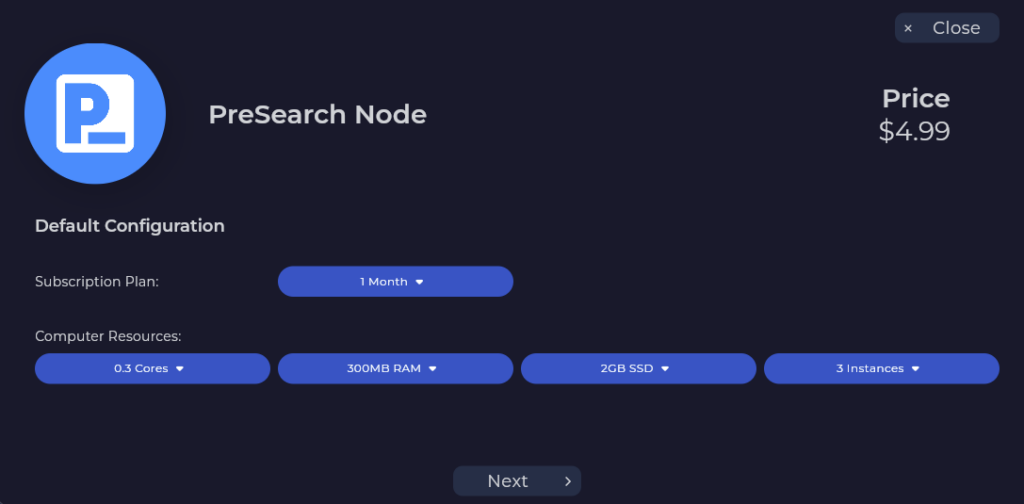
- Select the relevant node and Subscription plan – then click next till you get to the Environment Parameters.
- Enter your Presearch node registration ID in the ‘registration_code’ parameter. You can find the registration ID on the Presearch node dashboard at nodes.presearch.org/dashboard
- Once the registration ID is entered, hit ‘Next and follow the on screen instructions.’ Follow the prompts till you get to Launch App – Click Launch.

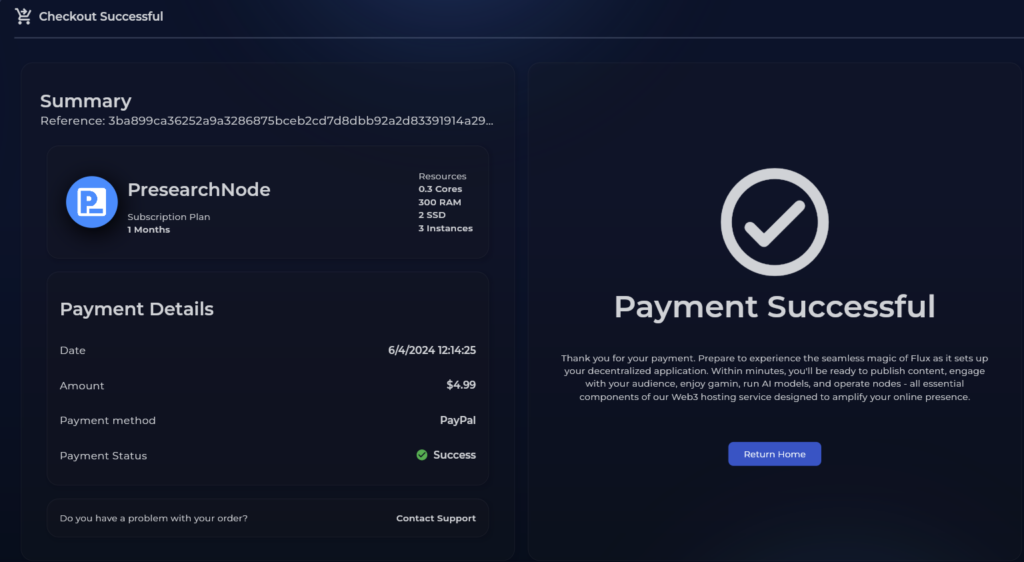
- Select a Payment Method, Stripe (Card Payments), Paypal or Zelcore.

- Thats it you should be redirected to Checkout. Enjoy your 3 Presearch Nodes!
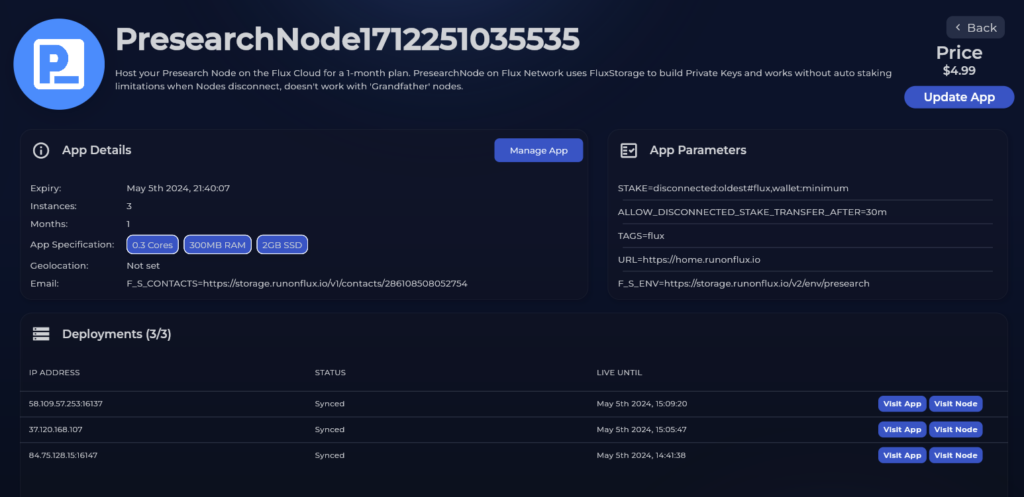
- Your node instances should start populating on your Presearch node dashboard at nodes.presearch.org/dashboard in about an hour, and you can then proceed to set up your stake there. The nodes will initially have the name ‘no description’ unless you set a name for them.
If you want to extend the time of your Presearch node deployment, head to the My Apps again at https://cloud.runonflux.io/myapps and click update and follow the on Screen Instructions..
Want to know more?
While on the Flux marketplace, check out the other applications and blockchain nodes that can be easily deployed.
Please visit the official Flux website hosted on the Flux decentralized network. Learn about the ecosystem and see what Flux has to offer. Check out the Flux products to see how you can leverage cost-effective decentralized infrastructure.
You can also stay updated by following the official Flux Twitter @RunOnFlux for news and announcements.
Finally, you can meet the Flux community on the Flux discord. On Discord you can also meet the Flux team and discuss all things Flux, we’re always on the lookout for new community members, developers or potential partners.
Thanks for reading if you would like to stay up to date follow me on Social Media.