
If you want to run Multiple Flux Nodes, check out this post. Proxmox uses a modified Ubuntu kernel to run multiple virtual machines and containers. You can deploy and manage virtualized environments through a web console or a command line, ensuring simple and fast accessibility.
Table of contents
Read on to find out how to install and configure Proxmox for a Flux Node installation.
Prerequisites
- A system to install it on – here are some options.
- 64bit CPU.
- At least 8GB of RAM per Flux Node.
- A USB stick with at least 1GB.
Install Proxmox Virtual Environment
Follow the steps listed below to install Proxmox VE on a physical or dedicated server.
Step 1: Download Proxmox ISO Image
The first step is to download the Proxmox VE ISO image.
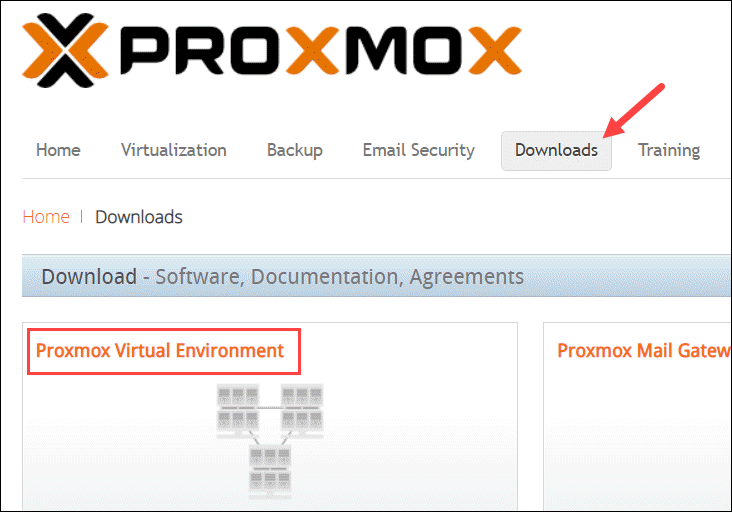
1. Navigate to the official Proxmox Downloads page and select Proxmox Virtual Environment.
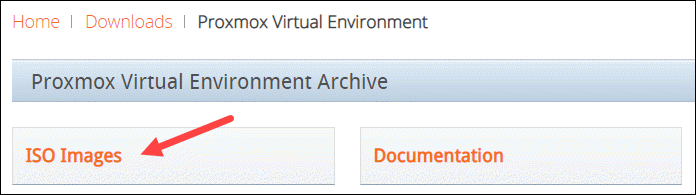
2. This takes you to the Proxmox Virtual Environment Archive that stores ISO images and official documentation. Select ISO Images to continue.
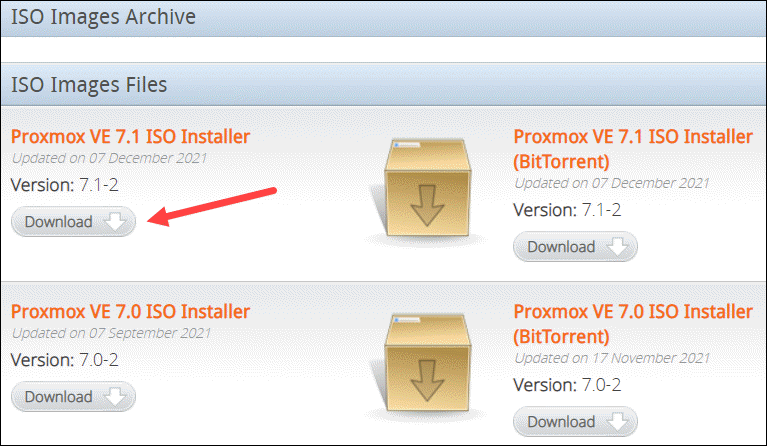
3. At the time of writing, the latest version of the Proxmox VE ISO Installer is 7.1. If a newer version is available, it is listed at the top. Click Download and save the file.
Step 2: Prepare Installation Medium
Copy the Proxmox ISO image on a CD/DVD or a USB flash drive. Although both options are possible, it is assumed that most systems won’t have an optical drive.
Plug in the USB drive and copy the ISO image to the USB stick using the command line or a USB formatting utility (such as Etcher or Rufus).
Note: Make sure your USB has at least 1 GB of storage. Also, back up and remove any data on the device as the process will erase any previously stored data.
Step 3: Launch the Proxmox Installer
1. Move to the server (machine) where you want to install Proxmox and plug in the USB device.
2. While the server is booting up, access the boot menu by pressing the required keyboard key(s). Most commonly, they are either Esc, F2, F10, F11, or F12.
NB: While here you will need to enable virtualization in the BIOS. This is different for each motherboard. Normally in the CPU menu called Virtualization Technology. At this point I would also make sure that AC Power Loss is turned on, this will reboot the server in case of power loss.
3. Select the installation medium with the Proxmox ISO image and boot from it.
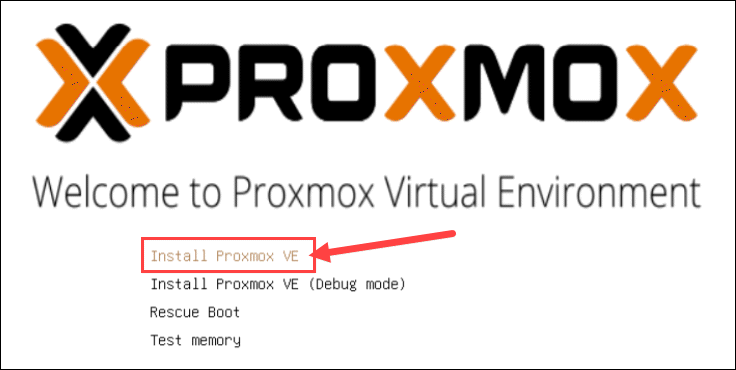
4. Next, the Proxmox VE menu appears. Select Install Proxmox VE to start the standard installation.
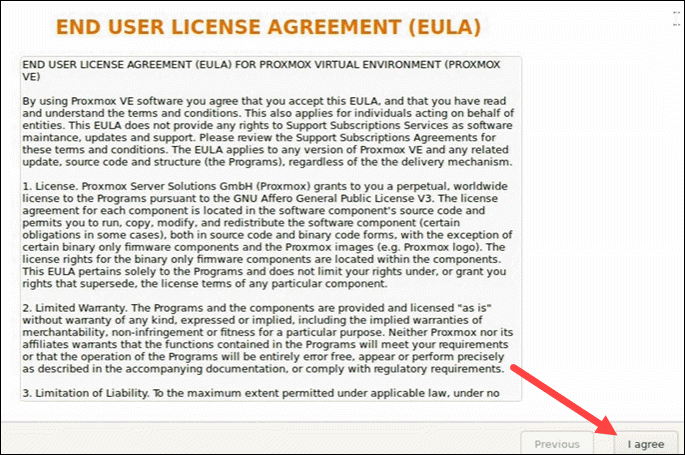
5. Read and accept the EULA to continue.
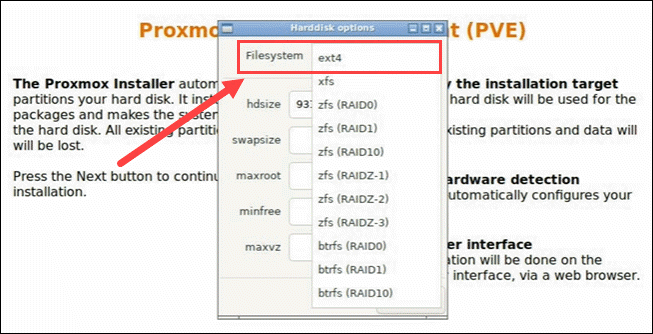
6. Choose the target hard disk where you want to install Proxmox. Click Options to specify additional parameters, such as the filesystem. By default, it is set to ext4.
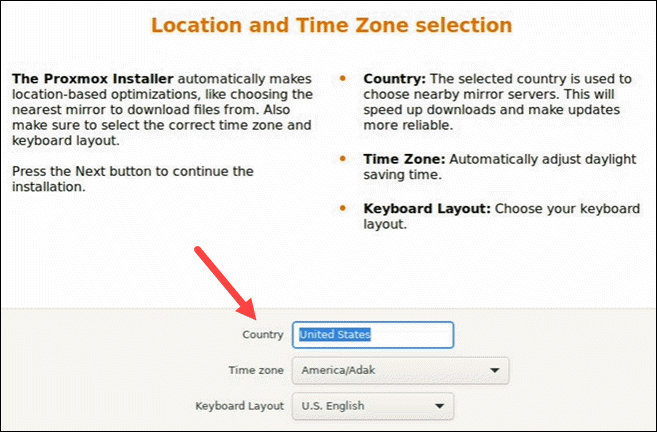
7. Then, set the location, time zone, and keyboard layout. The installer autodetects most of these configurations.
8. Create a strong password for your admin credentials, retype the password to confirm, and type in an email address for system administrator notifications.

9. The final step in installing Proxmox is setting up the network configuration. Select the management interface, add a hostname for the server, the IP address and rest of the detail should self populate. You can amend this if you have your own custom network with a different bridge. I would research this and consider pfsense.
10. The installer summarizes the selected options. After confirming everything is in order, press Install.
11. After the installation is complete, remove the USB drive and reboot the system.
Step 4: Run Proxmox
1. Once the installation is completed and the system rebooted itself, the Proxmox GRUB menu loads. Select Proxmox Virtual Environment GNU/Linux and press Enter.
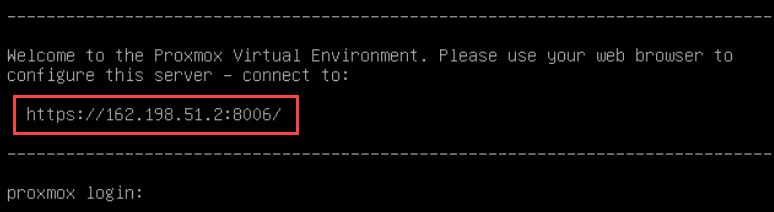
2. Next, the Proxmox VE welcome message appears. It includes an IP address which loads Proxmox. Navigate to that IP address in a web browser of your choice.
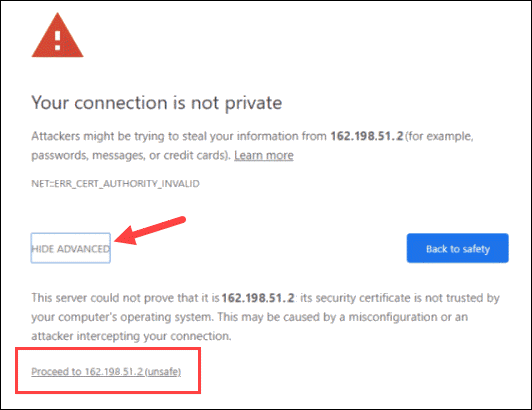
3. After navigating to the required IP address, you will most likely see a warning message that the page is unsafe because Proxmox VE uses self-signed SSL certificates. Select to proceed to the Proxmox web management interface.
4. To access the interface, log in as root and provide the password set when installing Proxmox.

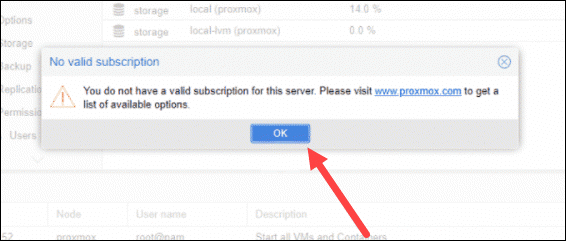
5. A dialogue box pops up saying there is no valid subscription for the server. Proxmox offers an add-on service you can subscribe to, which is optional. To ignore the message, click OK.
Step 5: Create a VM
Now that you logged in to the Proxmox web console, create a virtual machine. This is the time when we can start to set up Flux Node Virtual Machines.
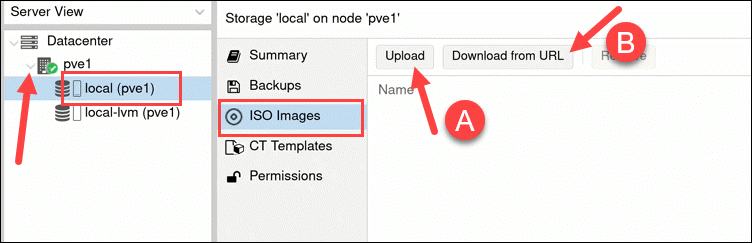
1. Before going through the steps to create a virtual machine, make sure you have ISO images for installation mediums. Move to the resource tree on the left side of your GUI.
Select the server you are running and click on local (pve1). Select ISO Images from the menu and choose between uploading an image or downloading it from a URL.
NB: In our case we are going to install the https://ubuntu.com/download/server 20.04 LTS (Long Term Support) Version. Make sure to download the 20.04 not 22 version as docker will not install on it.
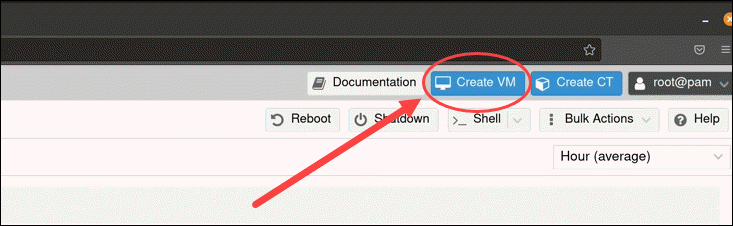
2. Once you have added an ISO image, move on to spinning up a virtual machine. Click the Create VM button located on the right side of the header in the GUI.
3. Provide general information about the VM:
- Start by selecting the Node. If you are starting and have no nodes yet, Proxmox automatically selects node 1 (pve1).
- Provide a VM ID. Each resource has to have a unique ID.
- Finally, create a name for the VM. Use an easily identifiable name Flux Node 1 etc.

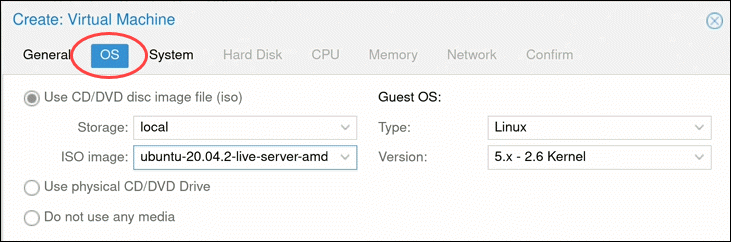
3. Next, switch to the OS tab and select the ISO image you want for your VM. Define the Type of the OS that you added in the last stage.
Click Next to continue.
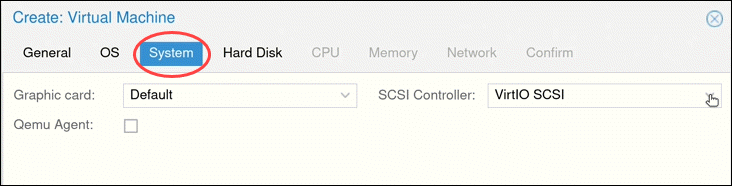
4. Modify system options (such as the Graphic card and SCSI controller) or leave the default settings.
5. Then, configure any Hard Disk options you want the VM to have. Generally, you can leave all the default settings. However, if the physical server is using an SSD, enable the Discard option.
NB: This is where you need to fill in the requirement for the Flux Node. In our case 220 but 240 would be safer if you have space.
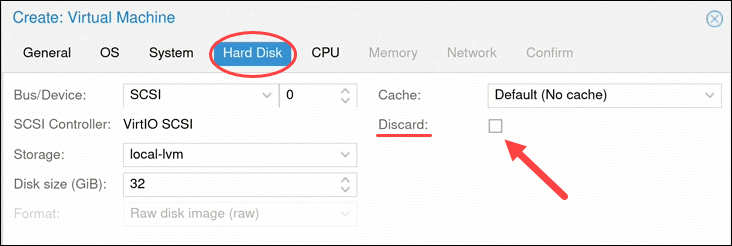
It is also important to set the Bandwidth Limit, as if 2 nodes benchmark at the same time this may cause a failed benchmark.

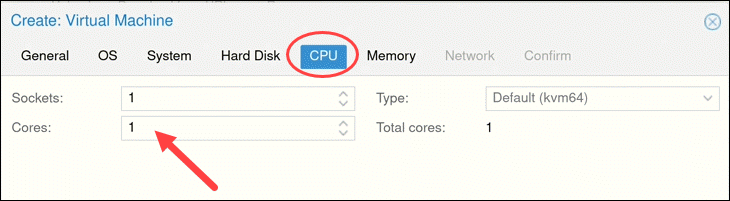
6. The number of Cores the physical server has determines how many cores you can provide to the VM. The number of cores allocated also depends on the predicted workload.
NB: The number of cores for a Cumulus node is 4 at this moment in time, remember to set the specific amount as per your node requirements.
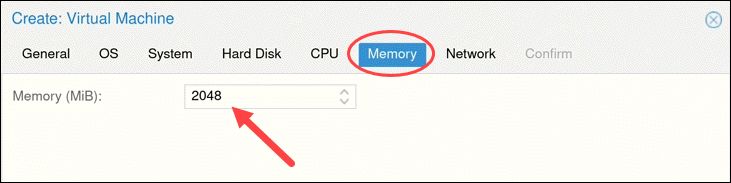
7. Next, choose how much Memory (MiB) you want to assign to the VM.
NB: For a cumulus node the current requirement is 8 GB Ram, please enter 8192.
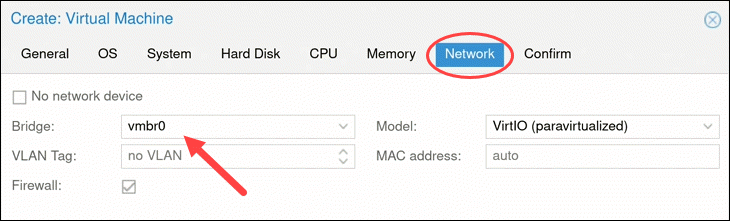
8. Move on to the Network tab. It is recommended to separate the management interface and the VM network. For now, leave the default setting.
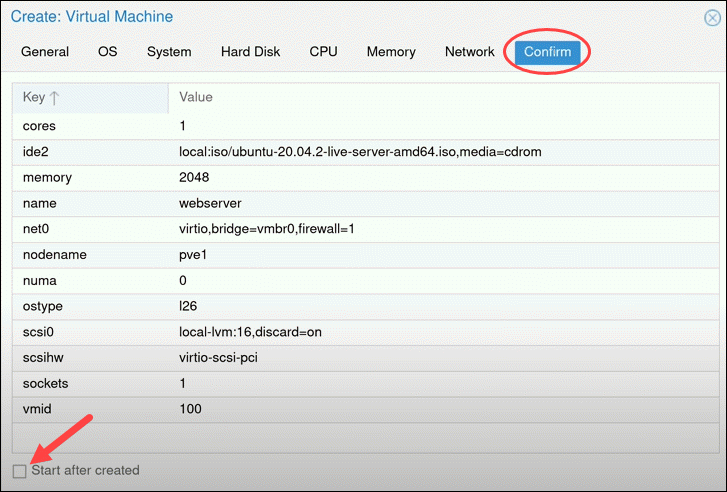
9. After clicking Next, Proxmox loads the Confirm tab that summarizes the selected VM options. To start the VM immediately, check the box under the listed information or start the VM manually later. Click Finish to create the VM.
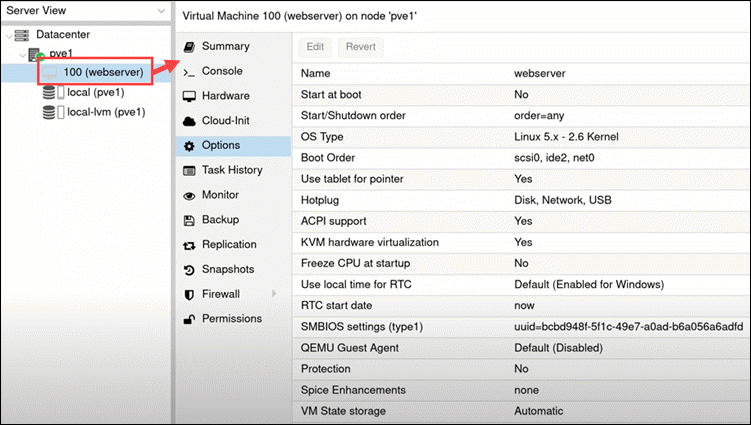
10. See the newly created VM in the resource tree on the left side of the screen. Click on the VM to see its specifications and options.
Configure Proxmox Virtual Environment
After creating a virtual machine, move on to configuring the environment.
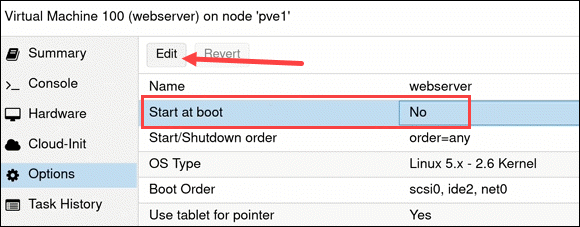
Start the VM at Boot
If the Start at boot option is set to No, the VM does not automatically start after rebooting the server. This means you need to log in to the Proxmox interface and start the VM manually.
To change the default setting, highlight the option and click the Edit button above.
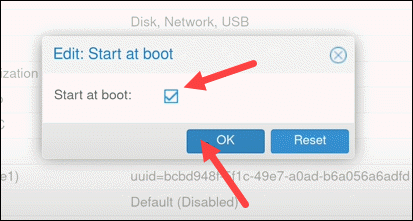
Check the box and click OK. This means if the power gors out the motherboard and server will boot up saving downtime and if you are out stop you from losing your ranking position if it comes back up quickly.
Ok that’s it now you are onto setting up the flux node and booting onto the server. There I will put I guide up soon but there are plenty on the flux website. Just remember to enable uPnP and set the part.
At this point you can refer to the simple instructions from RunOnFlux here. Basically the setup process with the multitool box.
NB: At this point it just rinse and repeat setting up the node. After you set up the first one set it as a template. You can now set up as many as your hardware will take upto 8.
Thanks for reading, if you found this helpful please share and keep in contact with us on twitter. Or if you need some help we are also on Discord.
Also a shout out to phoenixnap and Modo Tech for the inspiration. You can check out the video here, I have done instructions as I was pausing and rewinding the video just in case I missed something
