
Setting up your website on Flux involves configuring a custom domain and directing it to your Flux WordPress Website. Here, we’ll be using CloudFlare to accomplish this.
What is Flux and Why Use It?
Flux is a scalable and decentralized platform for dApps and Cloud Software like WordPress. It allows users to host their applications in a secure and distributed manner. To enhance user experience and ease of use, Flux allows you to point a custom domain to your Flux dApp using a Flux Domain Name (FDN) – yourdapp.app.runonflux.io.
Steps to Set Up a Website on Flux
The guide below provides you with the step-by-step instructions to point your custom domain to your Flux dApp via a FDN.
Configuring CloudFlare
CloudFlare will serve as a middleman between your domain name registrar (like godaddy.com) and the Flux network, securely directing traffic to your Flux dApp.
- Create a CloudFlare Account
- If you don’t have a CloudFlare account, create a free one here.
- Add Your Site to CloudFlare
- Upon account creation, you’ll be prompted to ‘Add a Site’.
- Enter your domain name and CloudFlare will automatically retrieve your DNS settings from your current host.
- Make sure to double-check all DNS entries to ensure they have been correctly transferred.
- Update Your Domain Name Servers
- After adding your site, CloudFlare will issue you new nameservers (e.g.,
nick.ns.cloudflare.comandtina.ns.cloudflare.com) to replace your existing ones (e.g.,ns1.yourdomain.com).
- After adding your site, CloudFlare will issue you new nameservers (e.g.,
- Wait for the DNS Update
- This process can take from a few minutes up to a few hours. Once the settings have taken effect, your custom domain name will be processed through CloudFlare, directing it to your original host.
- Add a CNAME Record for the Flux Domain Name
- The final step is to add a CNAME record in CloudFlare.
- To do this, click on ‘DNS’, then ‘Add Record’, and complete the fields as follows:
- Type: CNAME
- Name: Your App Name (
yourapp.yourdomain.com) or if you want to use the root domain name enter just ‘@’. - Target: Your Flux Domain Name
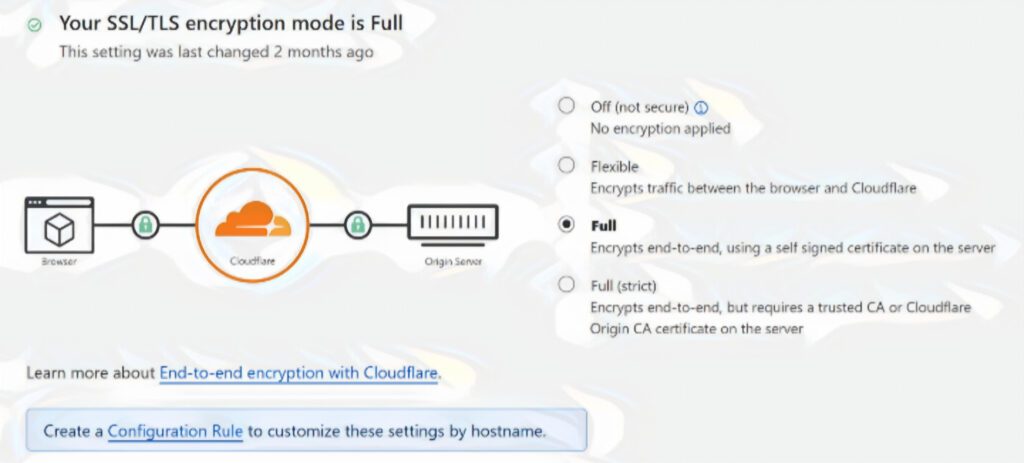
- Proxy: Ensure this is checked
Confirm Your Configuration
Check your CloudFlare configuration to ensure it resembles the following:
yourdomain.com> CloudFlare > Godaddy (Existing Website)yourapp.yourdomain.com> CloudFlare > Flux Website (yourdapp.app.runonflux.io)
In this example setup, the root domain is still hosted on another third-party server (like godaddy.com), and only the subdomain is directed to Flux.
Wrapping Up
Now, your custom domain should properly redirect to your Flux dApp. It may take some time for the changes to propagate throughout the internet. If you encounter any problems or need further assistance, please consult Flux or CloudFlare’s support documentation.
More Guides
Following Guides In Production
- How to Buy Flux to create your web 3 project
- How to Transfer Your Website
Useful Links
- https://zelcore.io/
- https://wordpress.runonflux.io
- https://cloud.runonflux.io/#/guides/wordpress/steps
Thanks for reading and if you enjoy my content please follow me on twitter.
